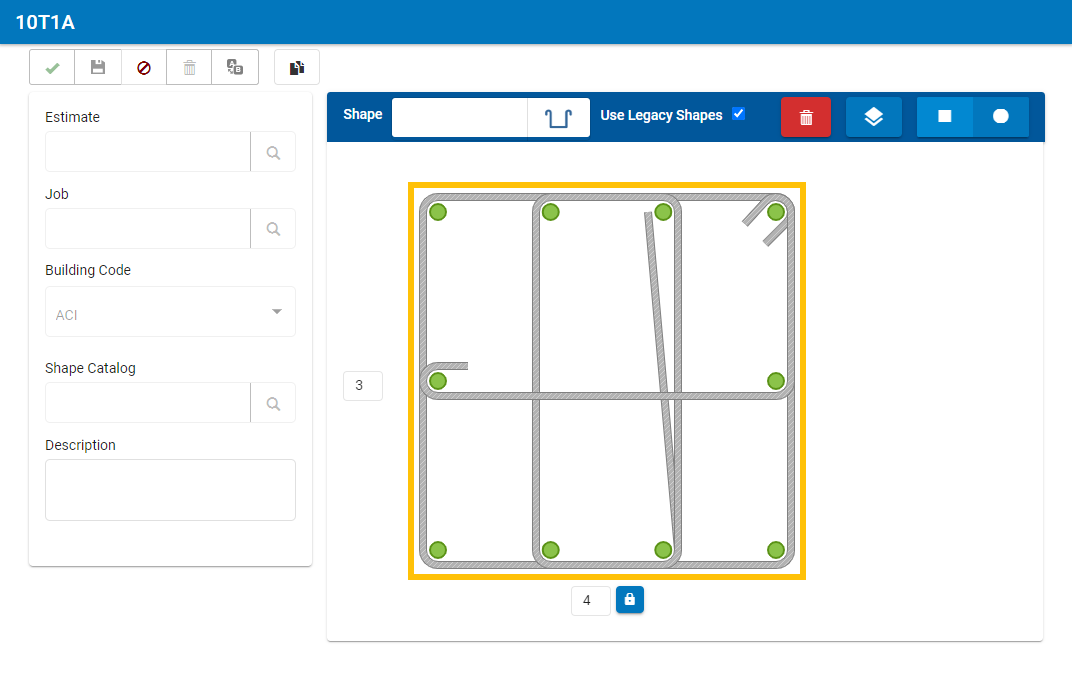
Tie Designer Screen Overview

Toolbar Buttons
![]() Finish
Finish
Save your configuration and clear the screen.
![]() Save
Save
Save your configuration without clearing the screen.
![]() Cancel
Cancel
Cancel your configuration and start over.
![]() Delete
Delete
Delete your current configuration.
![]() Rename
Rename
Change the name of your current configuration.
![]() Copy
Copy
Copy the entire configuration to another new configuration to make adjustments without changing the original.
Setup Fields
Estimate
If the configuration is for a specific estimate, select the desired estimate. Leave blank to use the configuration with any estimate.
Job
If the configuration is for a specific job, select the desired job. Leave blank to use the configuration with any job.
Building Code
The building code you selected on the Tie ID screen displays; view-only field.
Shape Catalog
To assign the tie configuration to a specific shape catalog, select the desired catalog. Leave blank to use the configuration with any project regardless of catalog.
Description
If the configuration requires a description, use the description field to annotate the shape. Leave blank if not needed.
Configuration Drawing Area
Shape
Select a tie or stirrup to add to the configuration.
Use Legacy Shapes
Applies to ACI building code. Check to use pre-2019 ACI shape IDs (S1, T1, etc.). Uncheck to use new shape IDs (201, 301, etc.).
 Delete
Delete a specific tie or delete the entire configuration.
![]() Edit Layer
Edit Layer
Select the order in which the ties will appear on CAD drawings.
 Rectangular
  Circular
Select the shape of your tie pattern: rectangular or circular.
Note: Changing the shape of an existing pattern will clear all shapes and points.
