Importing and Exporting Shapes
In this topic:
Importing Shapes
To import shapes:
- Open Import: On the Order Entry screen, click Tools
 . On the Left Menu, select Import > Shape.
Import Shape displays.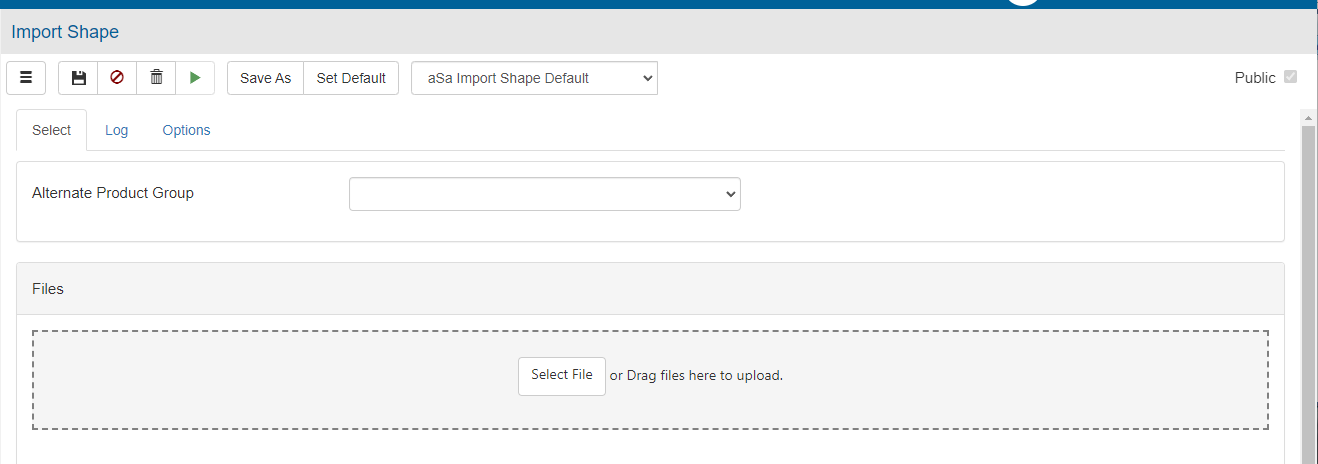
- Complete the Select Fields:
- Alternate Product Group - If the shape(s) being imported contain different product IDs than the ones used at the location where they were exported, select the appropriate alternate product group. Alternate product groups allow the system to change product IDs in the import file to match those in the destination database. For more information, refer to Understanding Alternate Product Groups.
- Complete the import Options, described below.
- Click Select File, then browse to the desired file.
or
Drag and drop files onto the Files box. - Click Proceed
 .
.
The shape(s) import into your system.
Notes: If the shape name conflicts with an existing shape in your system, you will be prompted to rename the shape or remove it from the import. - View the Log tab to see a list of issues encountered by the program during the import process.
Shape Import Options
Invalid Building Code
If the shape being imported is associated with a building code that does not exist in the destination system:
- Use default - Assign your default building code to the imported shape.
- Cancel - Stop the import.
Use existing shape when match is found
If the system finds a shape in the destination system that matches the geometry of the shape being imported:
- Yes - Use the existing shape; do not import the duplicate shape.
- No - Import the shape; your database will have two shapes with matching geometry.
Exporting Shapes
To export shapes:
- Open Export: On the Order Entry screen, click Tools . On the Left Menu, select Export > Shape.
The aSa Export Shape screen displays.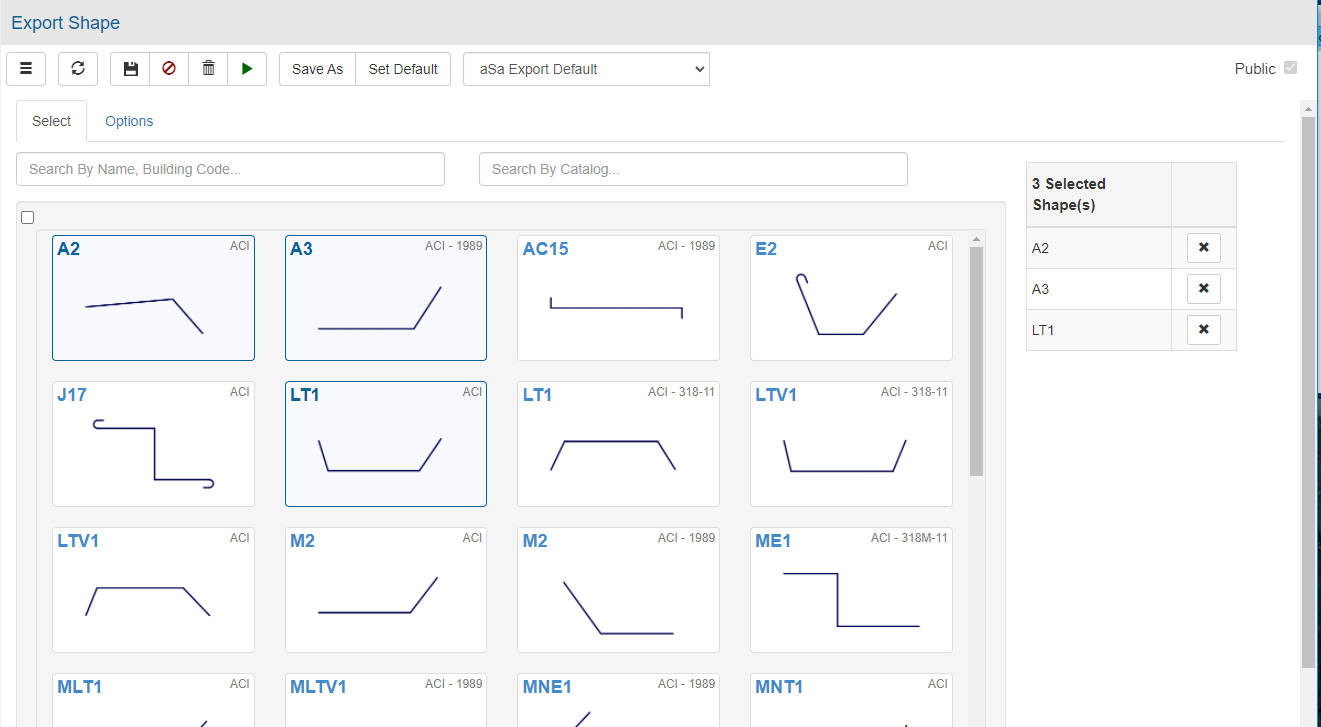
- Optional: Use the search fields to filter the shape selection choices.
- Click to select the shapes you want to export.
The Select Shapes grid updates. - Complete the export Options, described below.
- Click Proceed
 .
.
Depending on your browser, the file(s) may be automatically saved to your Downloads folder or you may be prompted to select a destination folder for the file(s).
- At the Confirm prompt, click OK.
- If desired, attach the export file(s) to an e-mail and send it to a fabricator or other destination.
Alternate Product Group
If the shape(s) being exported contain different product IDs than the ones used at the destination where they will be imported, select the appropriate alternate product group. Alternate product groups allow the system to change product IDs in the export file to match those in the destination database. For more information, refer to Understanding Alternate Product Groups.
Create Separate Files
Check to create a separate export file for each shape. Uncheck to group all shapes into one export file.