Defining a BTO Kit
Defining the Product
To define a BTO kit product:
- From the Product module, select Product > Main.
- Enter the Product ID and Description.
- In Product Class, select the product class that you set up to use for assembly items.
Many defaults will populate based on the product class. - Set Product Type to BTO Kit.
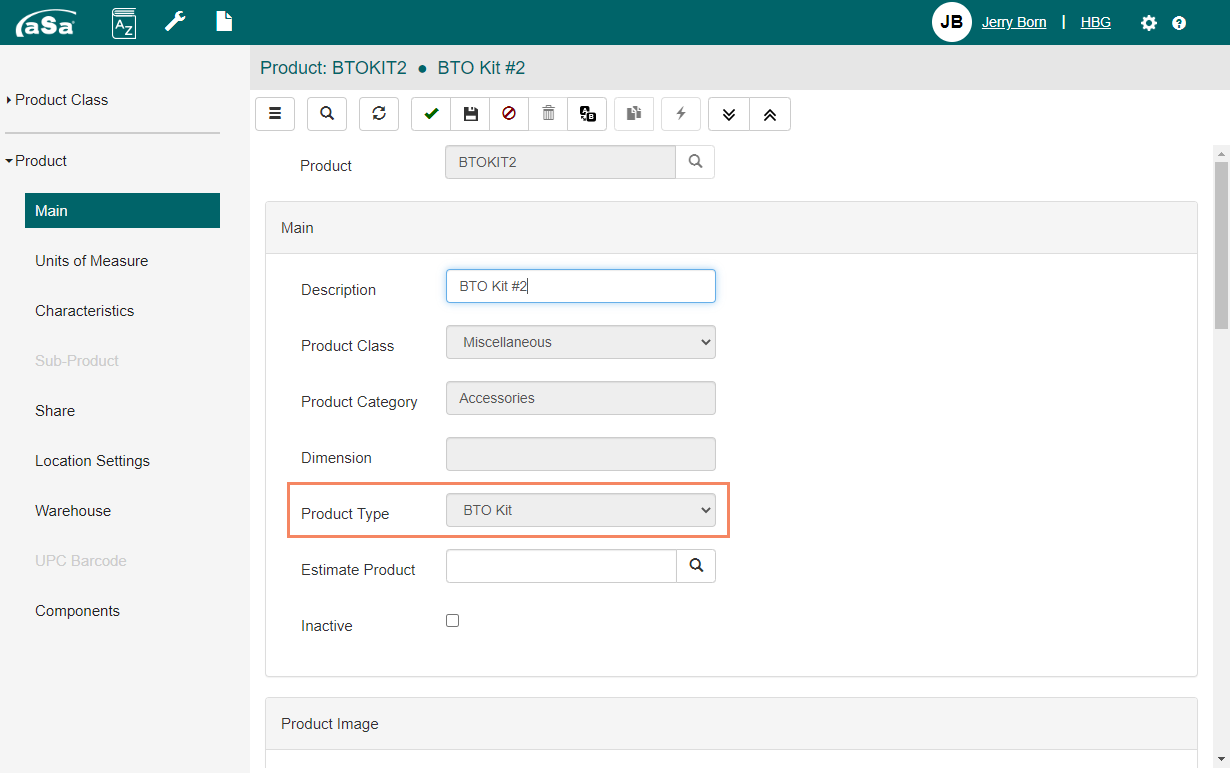
- As needed, use the Main, Units of Measure, Characteristics, Share, and Location Settings to set up additional information for the product.
- Use the Warehouse tab to indicate which warehouses in your system may assemble and supply the product.
Note: Be sure to check the Preferred warehouse for each location.
The Components screen is enabled. - Optional: Add components to the kit as described below.
- Click Finish
 .
.
Adding Default Components
Because the kit is built to order, the components you add will be included in the product by default. You can delete or change component quantities as needed when you build the kit in Order Entry.
- Add components if you want a "starting point" for creating/customizing the BTO product.
- Leave components blank to start with a “blank slate” each time you build the kit.
To add components to the BTO kit:
- In the Components grid, select the products that make up the assembly:
- If the component is a finished good, such as sheet of mesh, hard hat, or tie wire, use the Product field to select the product. Enter the quantity required for the kit.
- If the component is fabricated material, such as the bars of a reinforcing cage, select the Template that contains the fabricated items.
HINT: A template is a “mini-order,” typically containing rebar items for a cage or other structure. Refer to Working with Kit Templates.