Create a Load > Add Material
In this method, you:
- Create and blank load.
- Populate the load by adding orders or items.
To create a load:
- Set up the desired grid and calendar options as described in Working with the Scheduling Screen.
- Select Load Building from the Scheduling pull-down.
- Select the fabricating location and desired ship date.
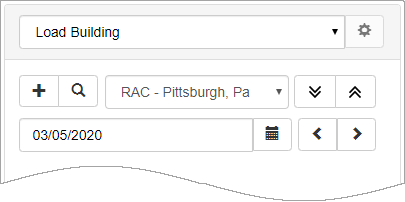
- Click New Load
 .
. - The Load Screen displays.
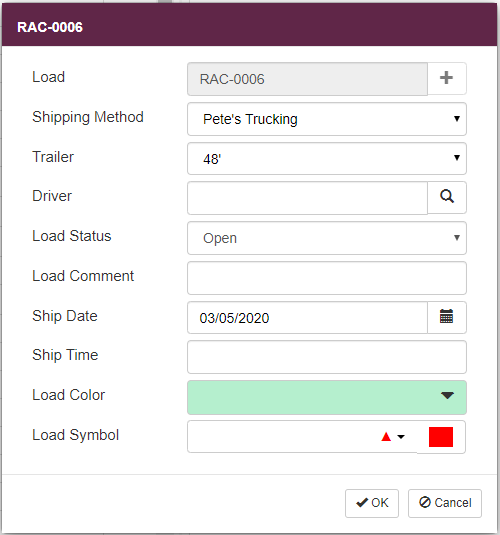
- In the Load field, click Add
 to assign a new load identifier or type a unique identifier for the load.
 - Use the remaining fields to set up basic load information.
Note: For a complete overview and field descriptions, refer to Load Building Screen Overview.
- Click OK
 to save the load and clear the screen; you can then create another new load if desired.
The load(s) display in the right panel.
*** Add material to your load(s) ***
- In the Scheduling grid:
- Click to select one or more orders.
or - Expand an order and click to select one or more tags.
- In the Load Building pane, click on a Load Number to assign material to that load.
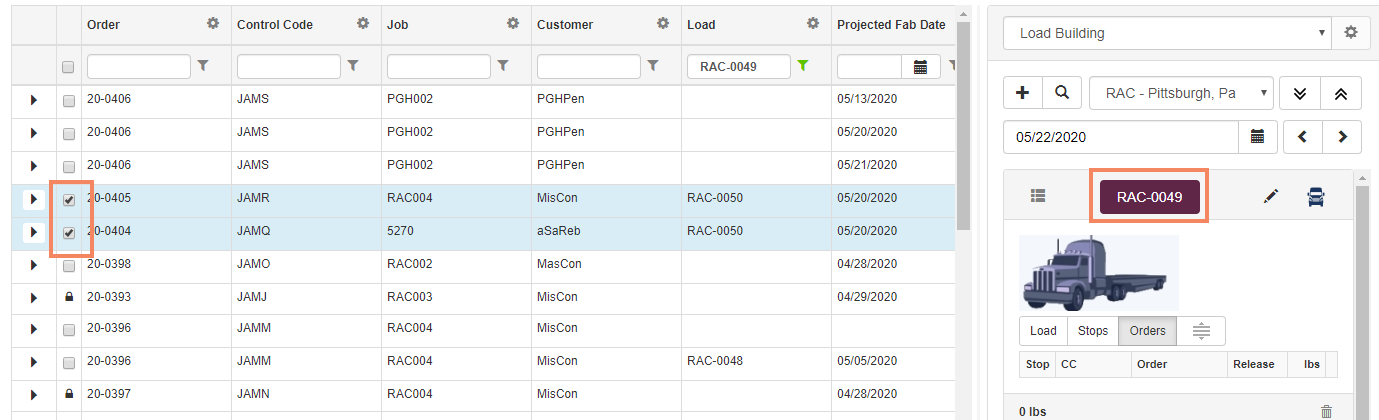
The system automatically builds delivery stops for you. Refer to Working with Delivery Stops.